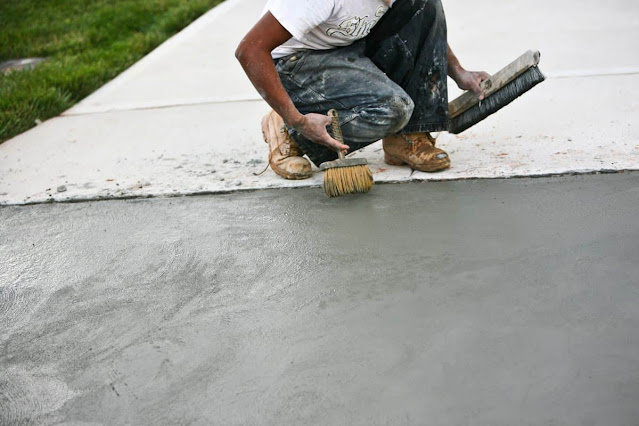
Concrete floor resurfacing is a versatile and cost-effective solution for rejuvenating worn, cracked, or stained concrete surfaces. Whether it's a garage floor, basement, patio, or showroom, resurfacing can transform dull and deteriorated concrete into a smooth, durable, and aesthetically pleasing surface. Let's explore the step-by-step procedure of concrete floor resurfacing and how it can breathe new life into your space.
Surface Preparation
The key to a successful concrete floor resurfacing project is thorough surface preparation. This involves:
Cleaning: Remove any dirt, oil, grease, or debris from the surface using a pressure washer or concrete cleaner.
Repairing cracks and damage: Fill in cracks, holes, and spalling with a concrete patching compound or filler. Smooth out any rough or uneven areas with a concrete grinder or sander.
Etching or profiling: Roughen the surface of the concrete to improve adhesion by etching with an acid solution or mechanically profiling with a shot blaster or grinder.
Primer Application
Once the surface is clean and repaired, apply a primer to promote adhesion between the existing concrete and the overlay material. The primer may be solvent-based or water-based, depending on the type of overlay being used. Use a roller or sprayer to apply the primer evenly over the entire surface, ensuring complete coverage.
Overlay Installation
After the primer has dried, it's time to apply the concrete overlay. There are various types of overlays available, including:
Polymer-modified overlays: These overlays consist of a blend of cement, polymers, and aggregates, offering excellent adhesion, durability, and flexibility.
Self-leveling overlays: Ideal for uneven or sloped surfaces, self-leveling overlays flow easily to create a smooth, flat finish.
Stamped overlays: These overlays mimic the look of natural stone, brick, or tile through the use of stamping mats or texture skins.
Decorative overlays: Add color, texture, and pattern to the surface with decorative toppings, such as stains, dyes, or stencils.
Apply the overlay material using a trowel, squeegee, or hopper gun, depending on the type of overlay and desired finish. Work quickly and methodically to ensure even coverage and smooth out any air bubbles or imperfections.
Finishing and Texturing
Once the overlay is applied, it's time to add texture or decorative effects, if desired. This may involve:
Stamping: Use stamping mats or texture skins to imprint patterns or textures onto the surface, such as brick, stone, or tile.
Staining or coloring: Apply concrete stains, dyes, or integral pigments to add color and depth to the surface.
Saw cutting: Create decorative patterns or borders by saw cutting the surface before the overlay fully cures.
Curing and Sealing
Allow the overlay to cure according to the manufacturer's instructions, typically 24 to 48 hours. Once cured, apply a sealer to protect the surface from stains, water damage, and UV exposure. Choose a sealer that is compatible with the overlay material and provides the desired level of sheen, such as matte, satin, or gloss.
Maintenance
Regular maintenance is essential to prolong the life and beauty of your newly resurfaced concrete floor. Sweep or vacuum the surface regularly to remove dirt and debris, and clean spills promptly to prevent staining. Periodically reapply sealer as needed to maintain protection and enhance the appearance of the surface.
Conclusion
Concrete floor resurfacing offers a cost-effective and efficient way to transform worn, damaged, or outdated concrete surfaces into beautiful, durable, and functional spaces. By following the step-by-step procedure outlined above and selecting the appropriate materials and techniques for your project, you can breathe new life into your space and enjoy years of enhanced durability and aesthetic appeal. Whether it's a residential, commercial, or industrial application, concrete floor resurfacing can revitalise any space and create a lasting impression.

Comments
Post a Comment